
Before Your Epoxy Flooring Installation
Everything you need to prepare your space before the Prime team arrives.
View guide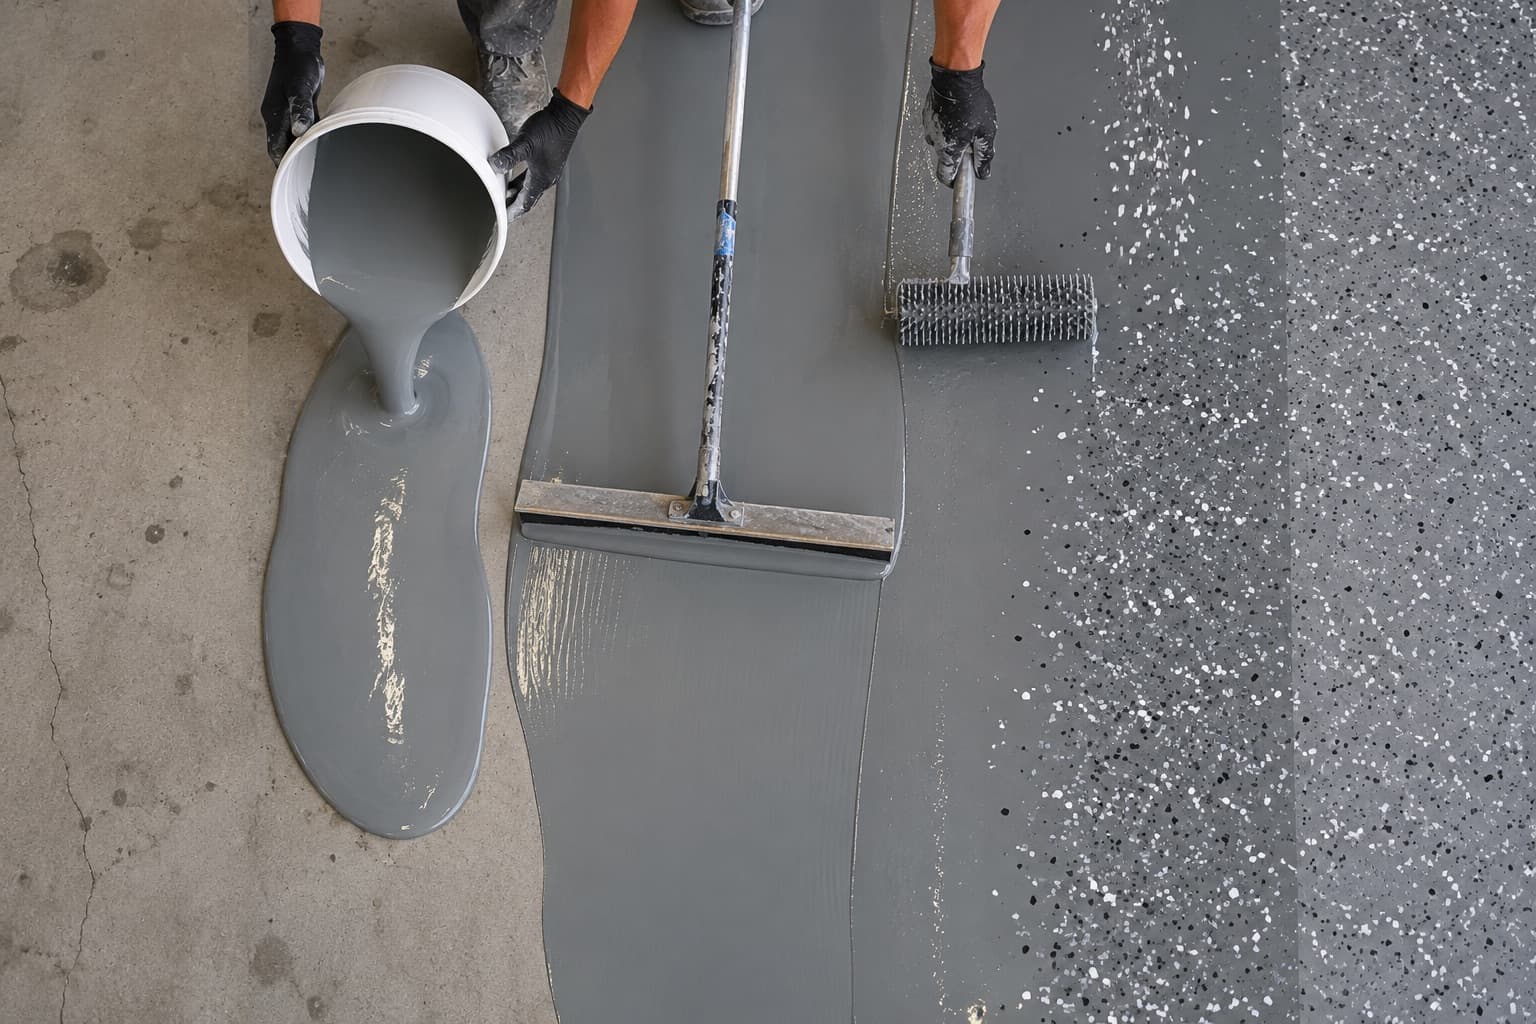
Most standard garages take around three days from preparation to the final coat. The exact timing depends on the size and condition of the floor, the selected system and the curing conditions.
Here is how an epoxy flooring system is built — from preparing the existing surface to the final handover.
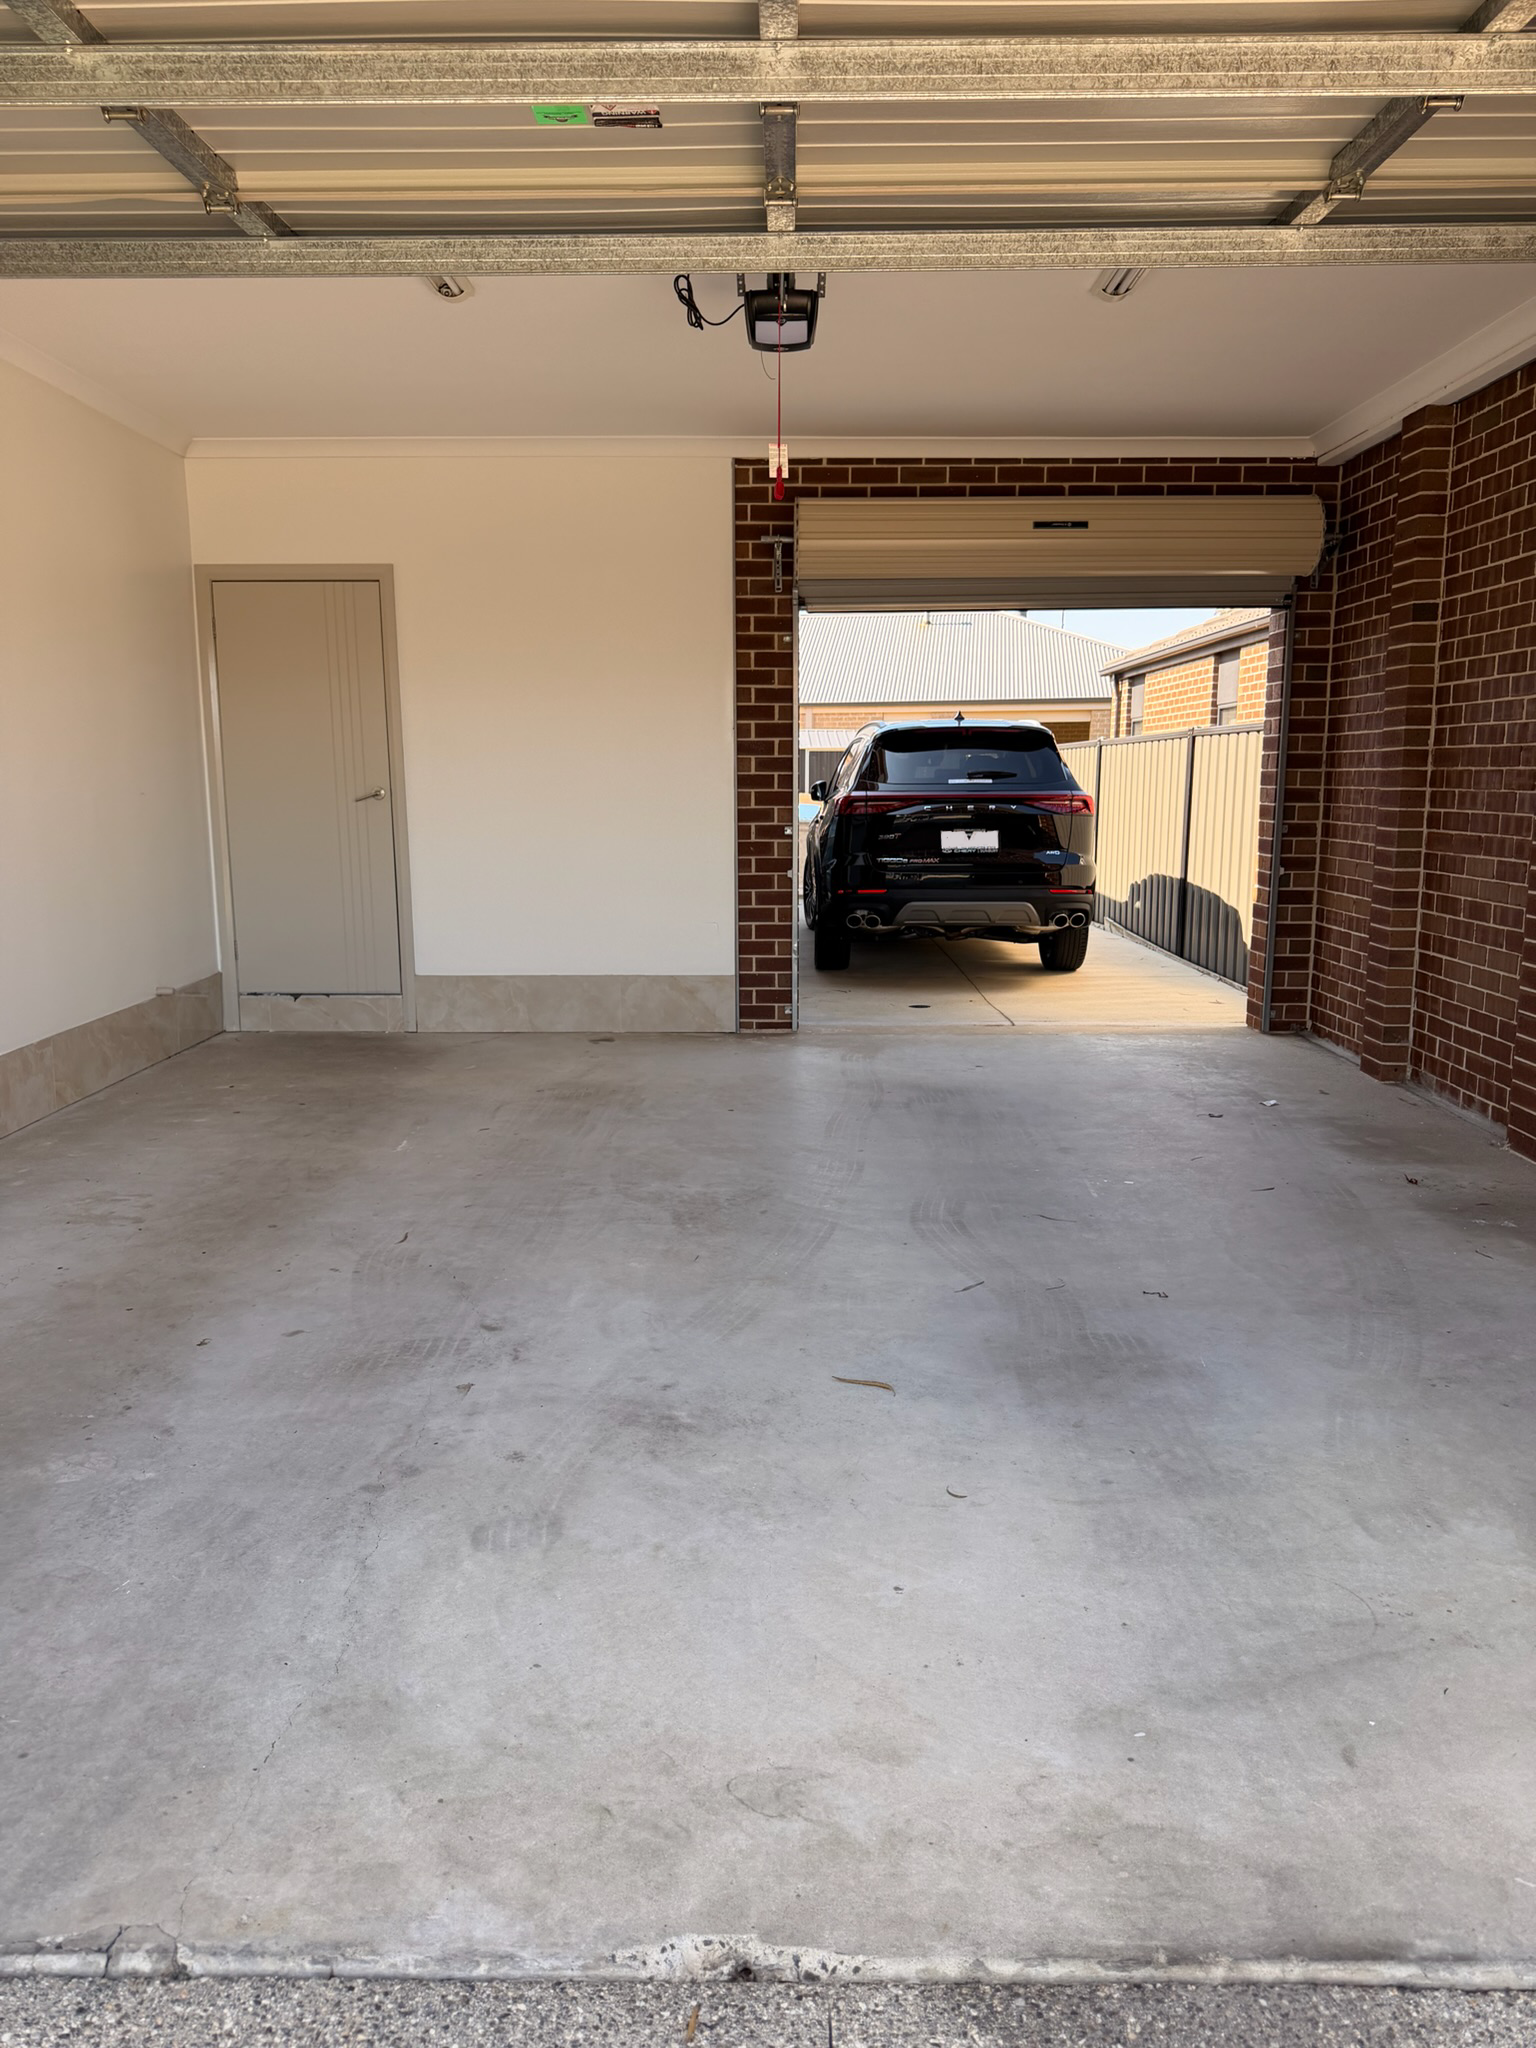
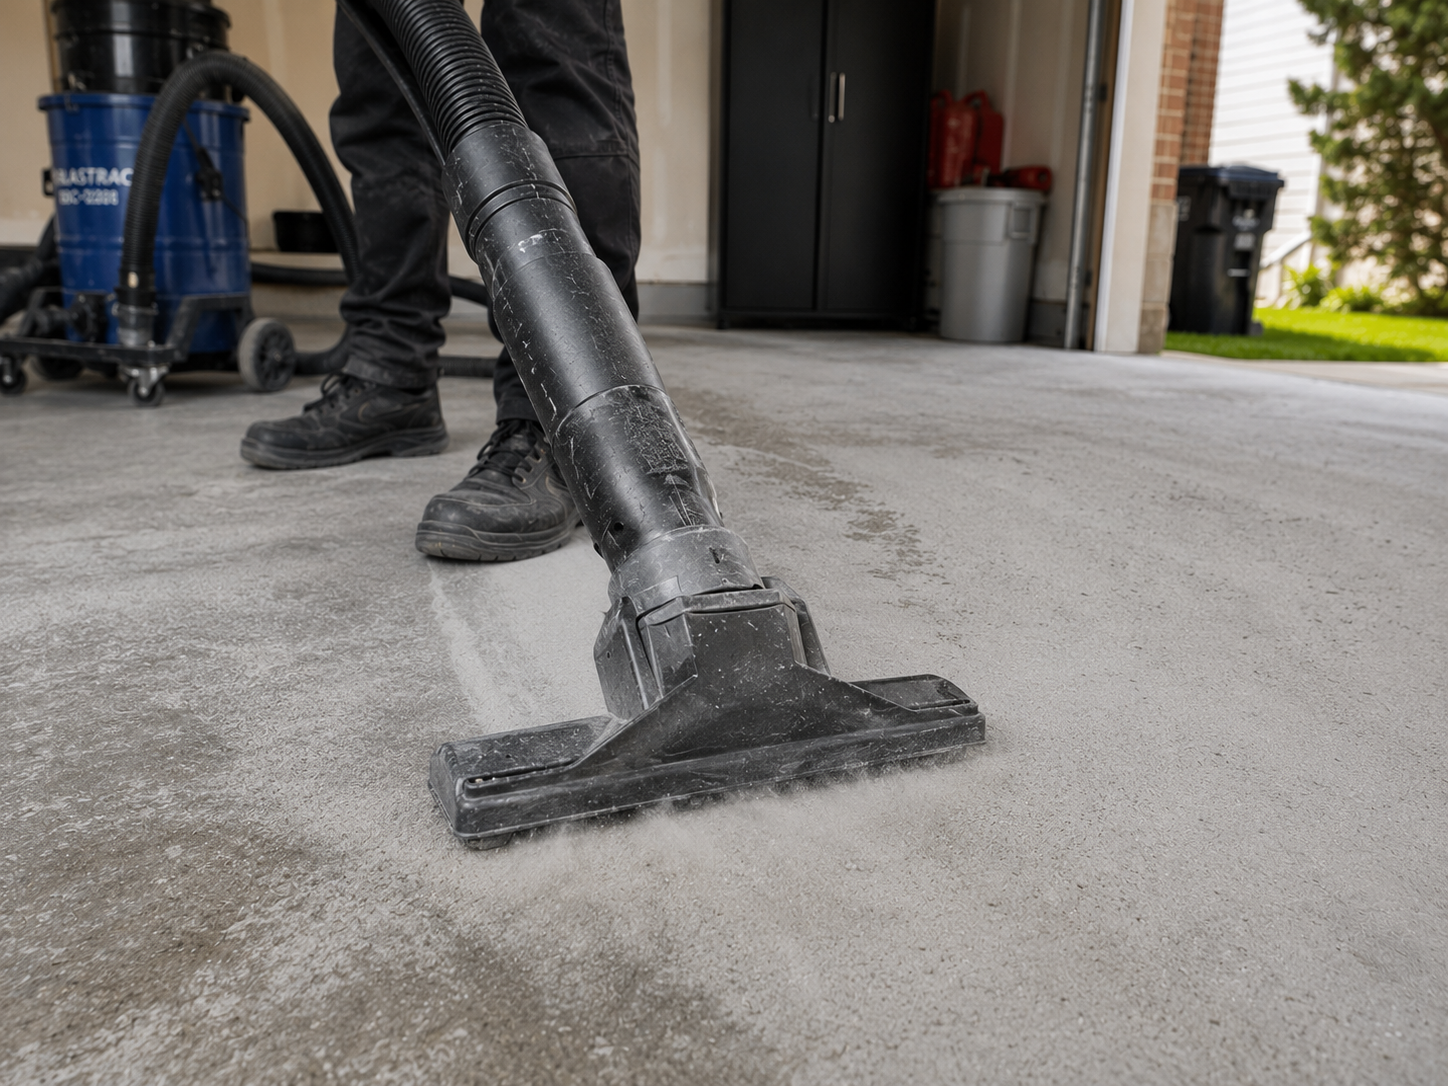
Before epoxy can be applied, the existing surface must be clean, dry and properly prepared. This may be concrete, tiles or another suitable existing surface.
Depending on the material and its condition, preparation may involve degreasing, acid washing, diamond grinding or mechanically abrading the surface. This removes contamination, loose material and smooth or glossy areas while creating a surface the coating can bond to.
Surface preparation is one of the most important parts of the entire epoxy flooring process. Without it, even a high-quality coating may not bond correctly.
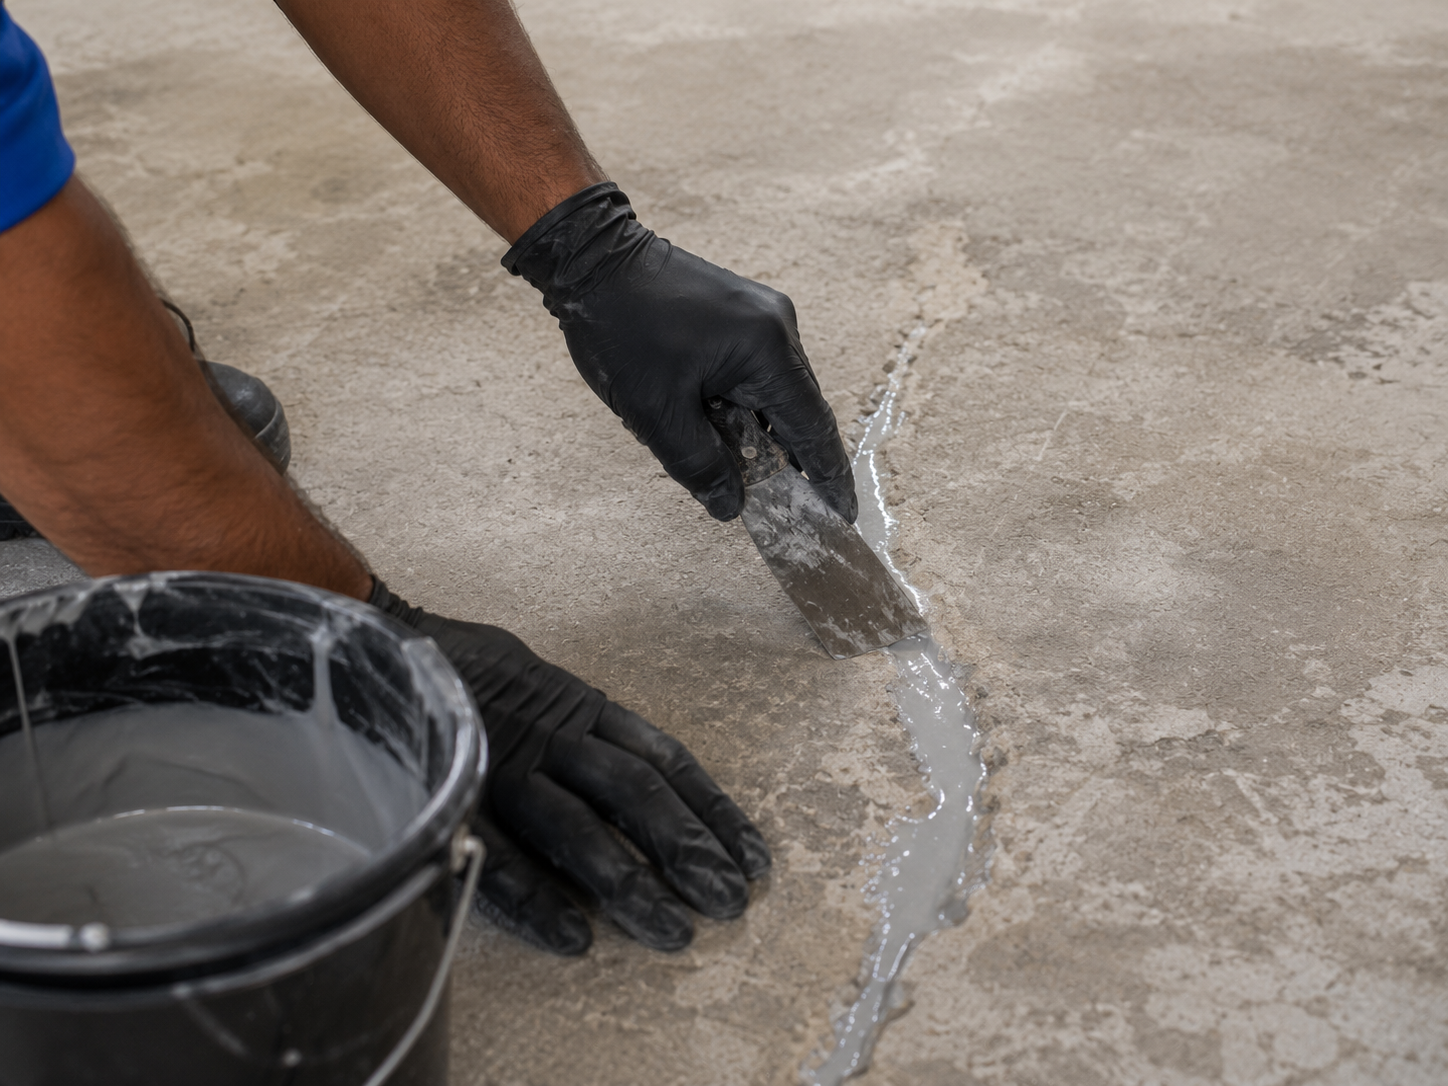
Epoxy alone does not repair cracks or damage underneath it. Simply coating over these areas can allow them to remain visible or affect the finished floor.
Depending on the existing surface, cracks, holes, pitting, chipped areas, damaged grout lines or uneven sections are cleaned and repaired with a suitable compound. Loose tiles or unstable sections must be addressed before coating continues.
Caulking is used where joints or gaps need to be sealed while still allowing a small amount of movement. A flexible caulk may be more suitable than a rigid repair compound in these areas. Movement joints must be assessed individually rather than simply coated over.
Crack filling is included in every Prime package. Joint and gap caulking is included in Prime Ultimate.
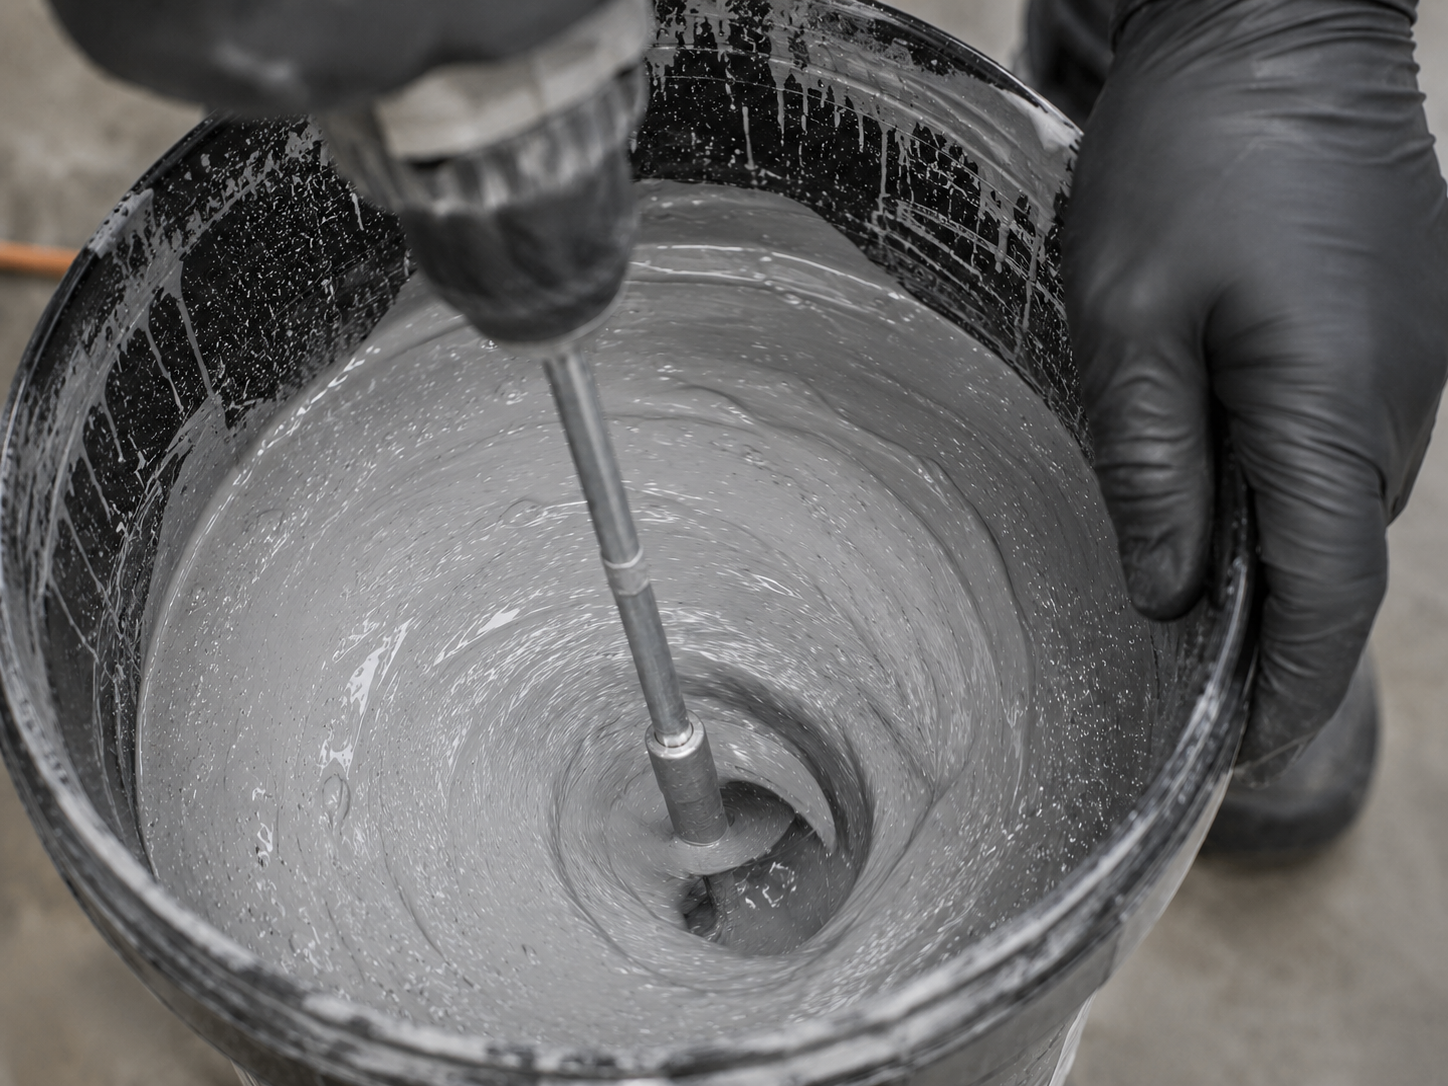
Primer creates the foundation between the prepared surface and the coating system above it.
It works into the prepared surface and helps the following coats bond securely. This is particularly valuable after diamond grinding and on older or more porous surfaces.
A separate primer is not included in every flooring system. Prime Premium and Prime Ultimate include a separate epoxy primer. Prime Basic uses acid-wash preparation without a separate primer.
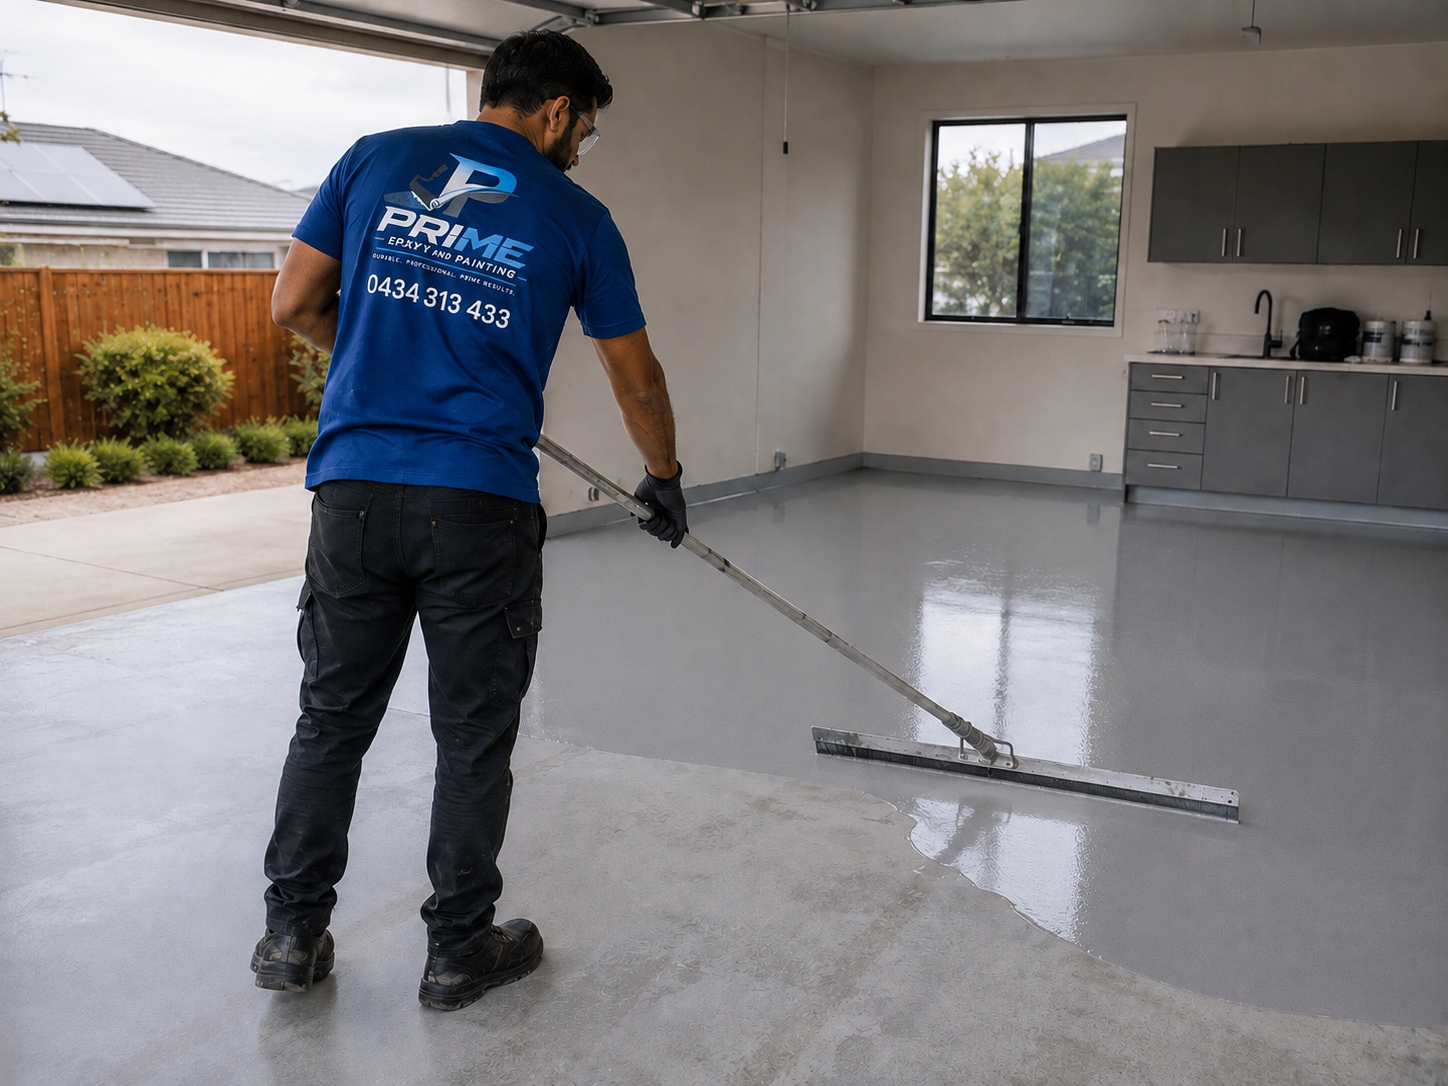
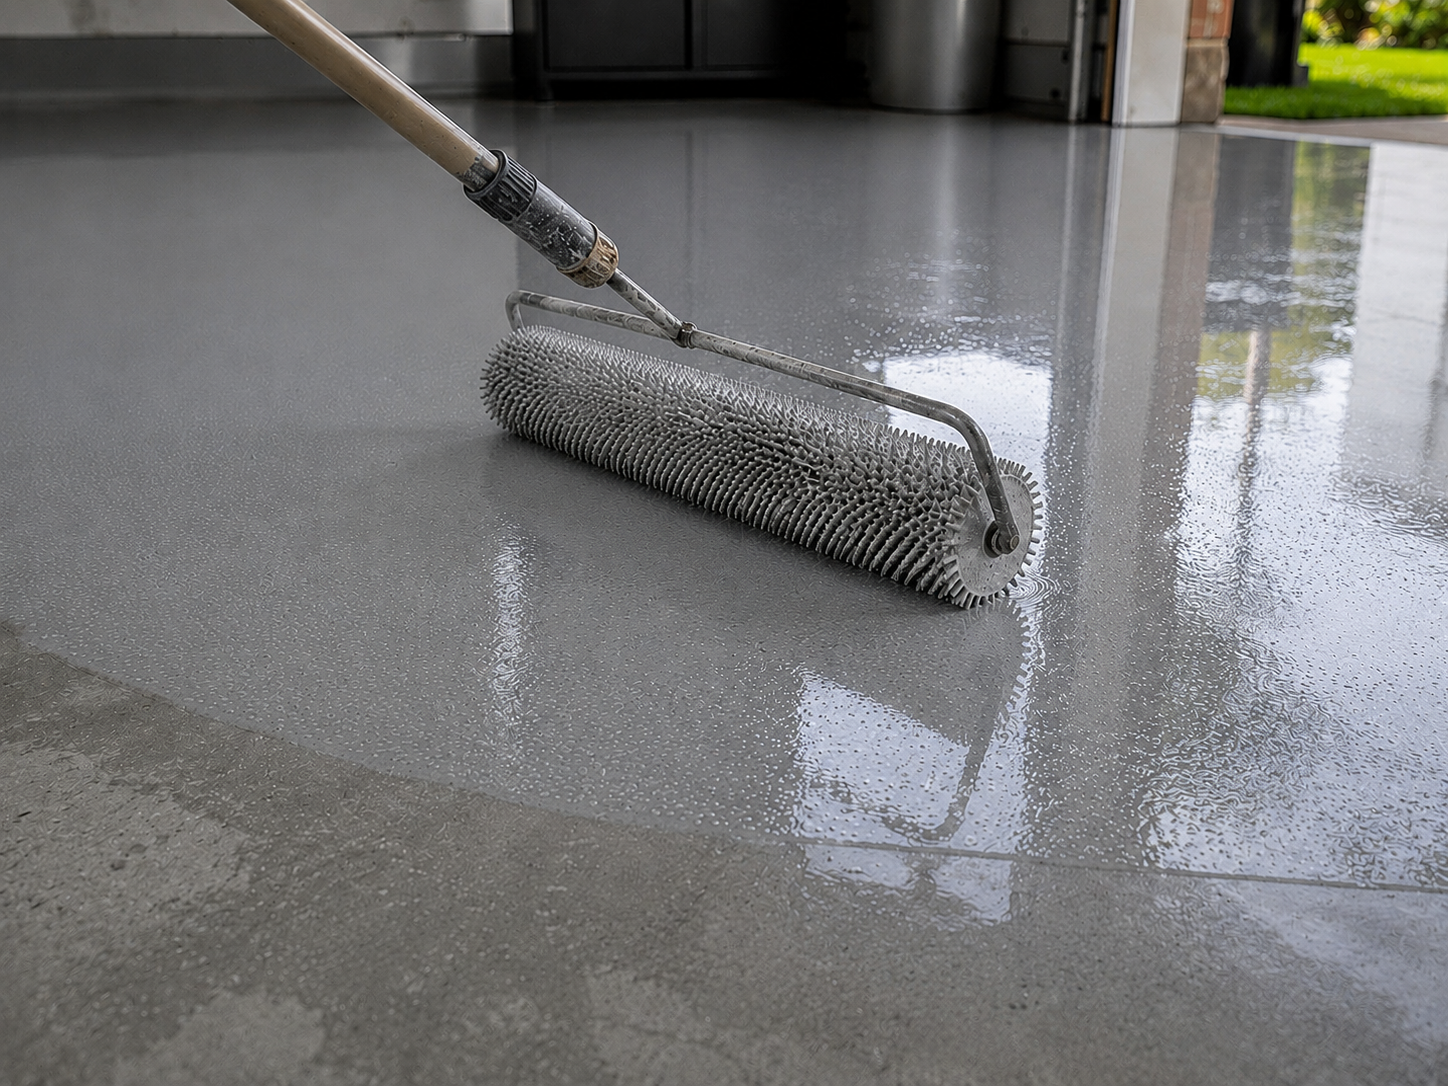
Once the surface has been prepared and, where included, primed, the coloured base coat is applied.
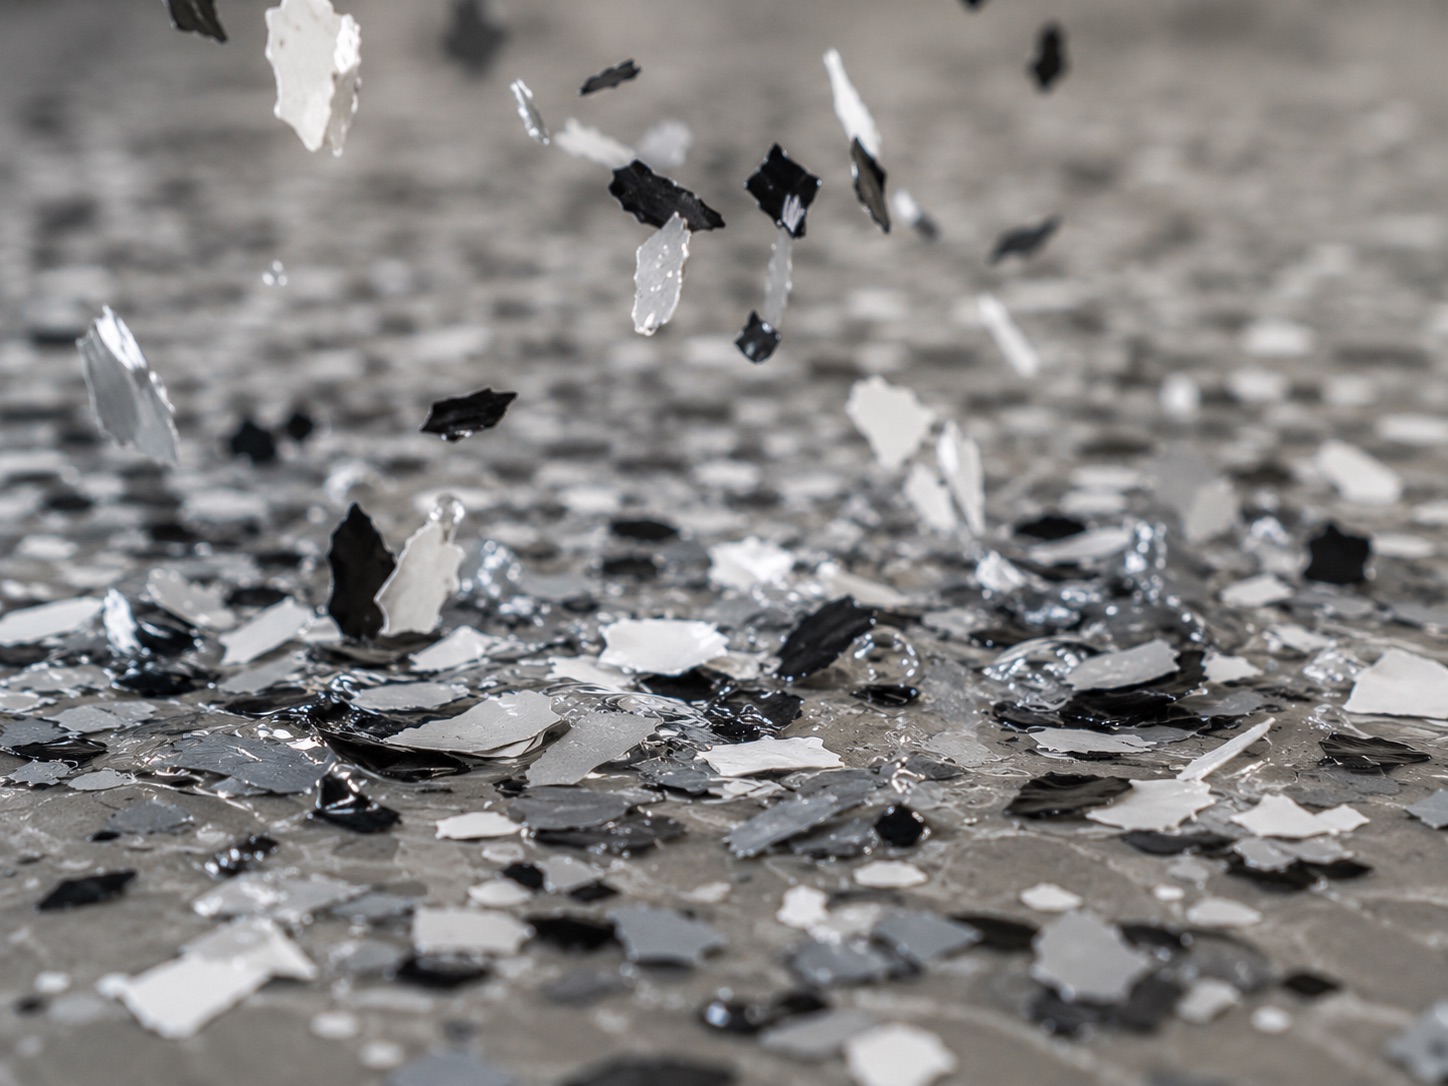
Decorative flakes are broadcast while the coating is still wet, allowing them to set into the floor rather than simply sitting on top. They add colour and texture while making everyday dust and marks less noticeable.
The amount of flake coverage and any anti-slip flakes depend on the selected Prime system, the preferred finish and how the space will be used.
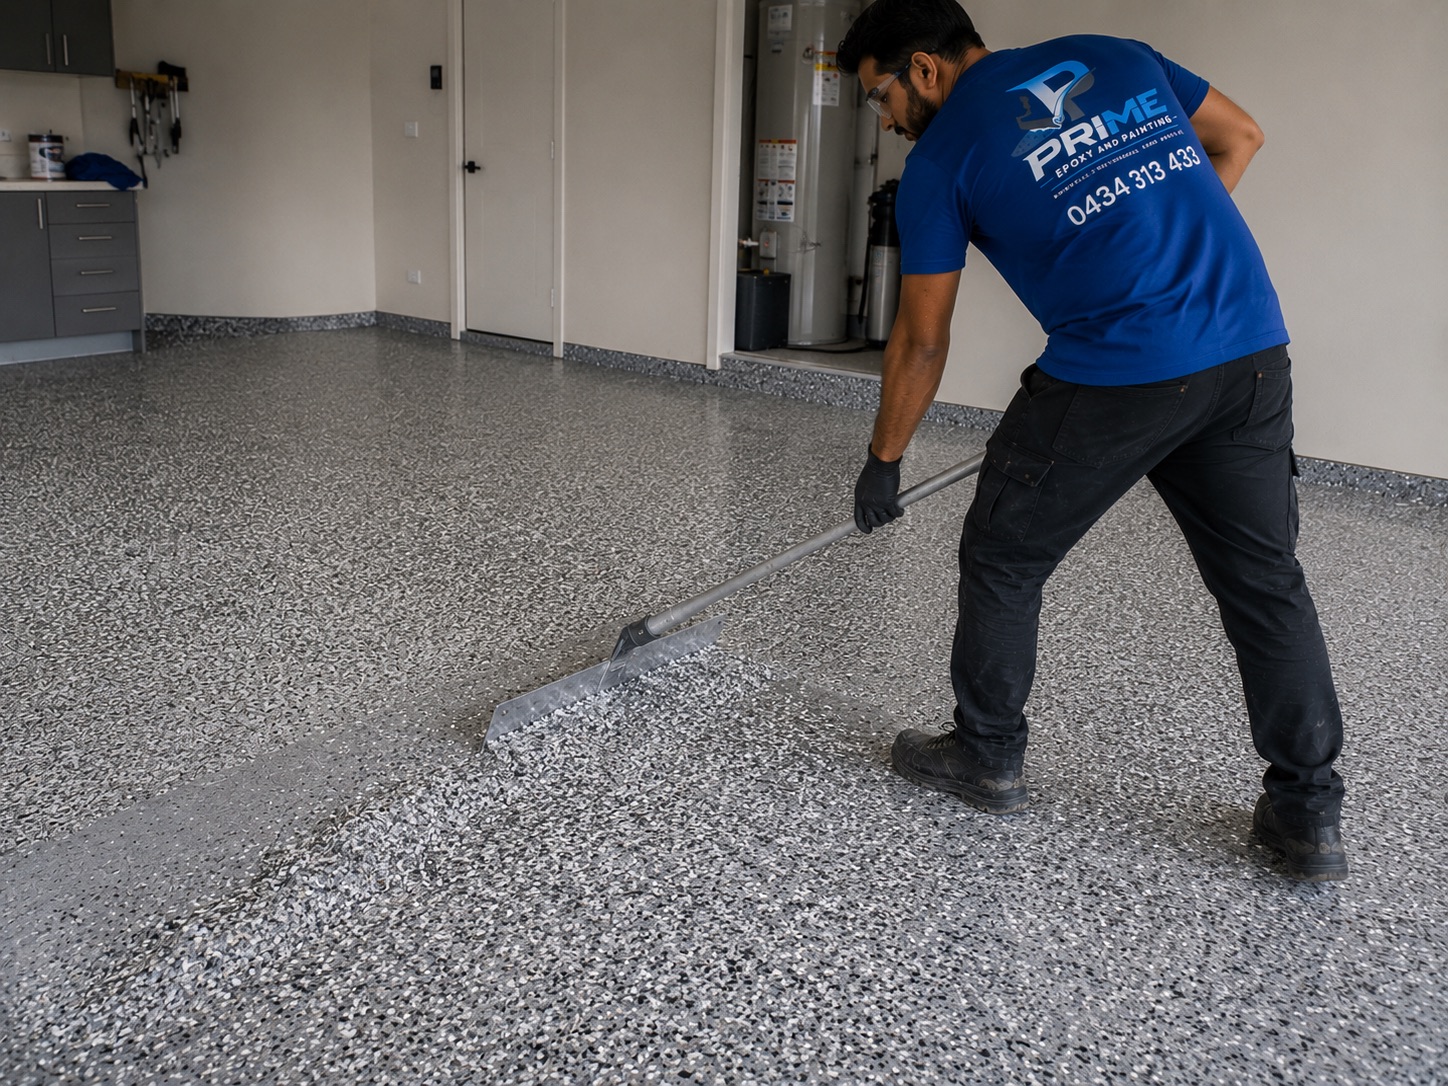
Once the base coat has hardened, loose and raised flakes are scraped back.
The entire floor is then thoroughly vacuumed and cleaned. This removes excess flakes, creates a more even finish and prepares the surface for its protective clear coat.
This step is especially important with heavier or full flake coverage, where more material needs to be scraped back and levelled.
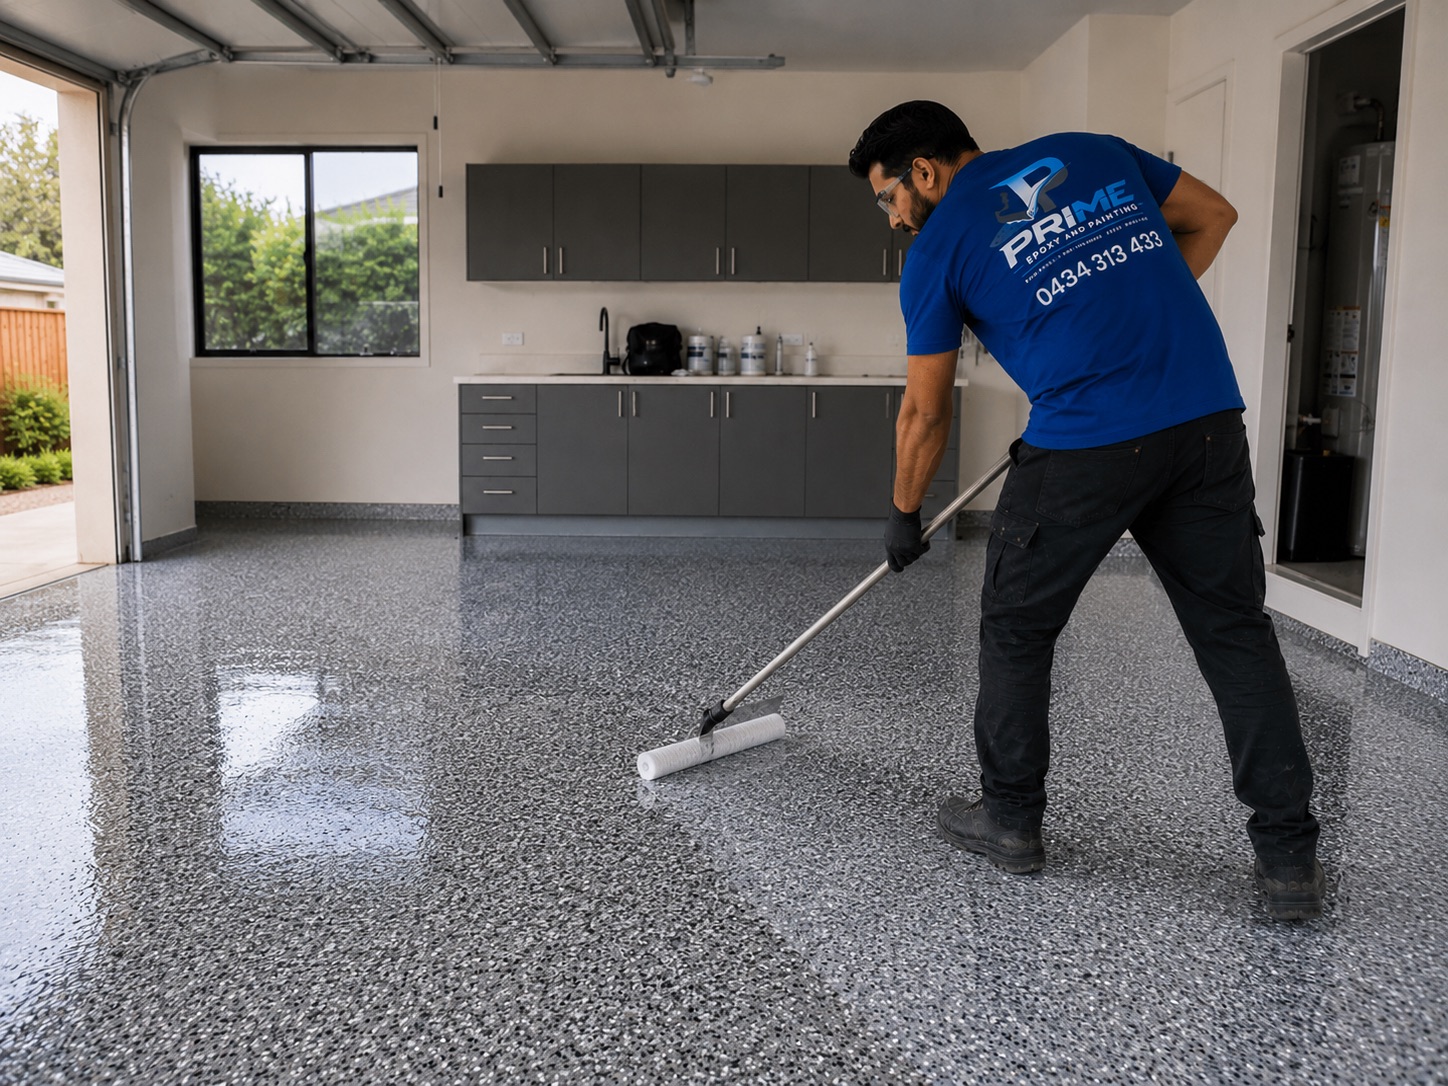
The UV-stable clear coat seals and protects the colour and flakes underneath.
This is the finished layer exposed to foot traffic, vehicles, cleaning, tyre heat and everyday wear. It also makes the floor easier to clean by sealing the textured flake surface.
Depending on the selected Prime system, one or two clear coats are applied. Prime Ultimate includes two premium clear top coats for an additional protective layer.
After the final coat has been applied, the flooring system needs time to harden before returning to normal use.
The floor may be ready for light foot traffic before it is strong enough for vehicles, heavy items or washing. The required curing time depends on the products used, temperature and weather conditions.
Allowing the floor to cure correctly is part of the installation process. Using it too early can leave marks or damage the finish before it has developed sufficient strength.
Once the coating work is complete, the masking is removed and the work area is left tidy.
The finished floor is checked and the required curing times are confirmed before the space returns to normal use.
You’ll receive the care instructions and warranty terms applying to your Prime flooring system. If anything about the finished floor is unclear, you can contact Prime directly.
Everything you need to prepare for the job and care for your finished Prime floor.
Everything you need to prepare your space before the Prime team arrives.
View guide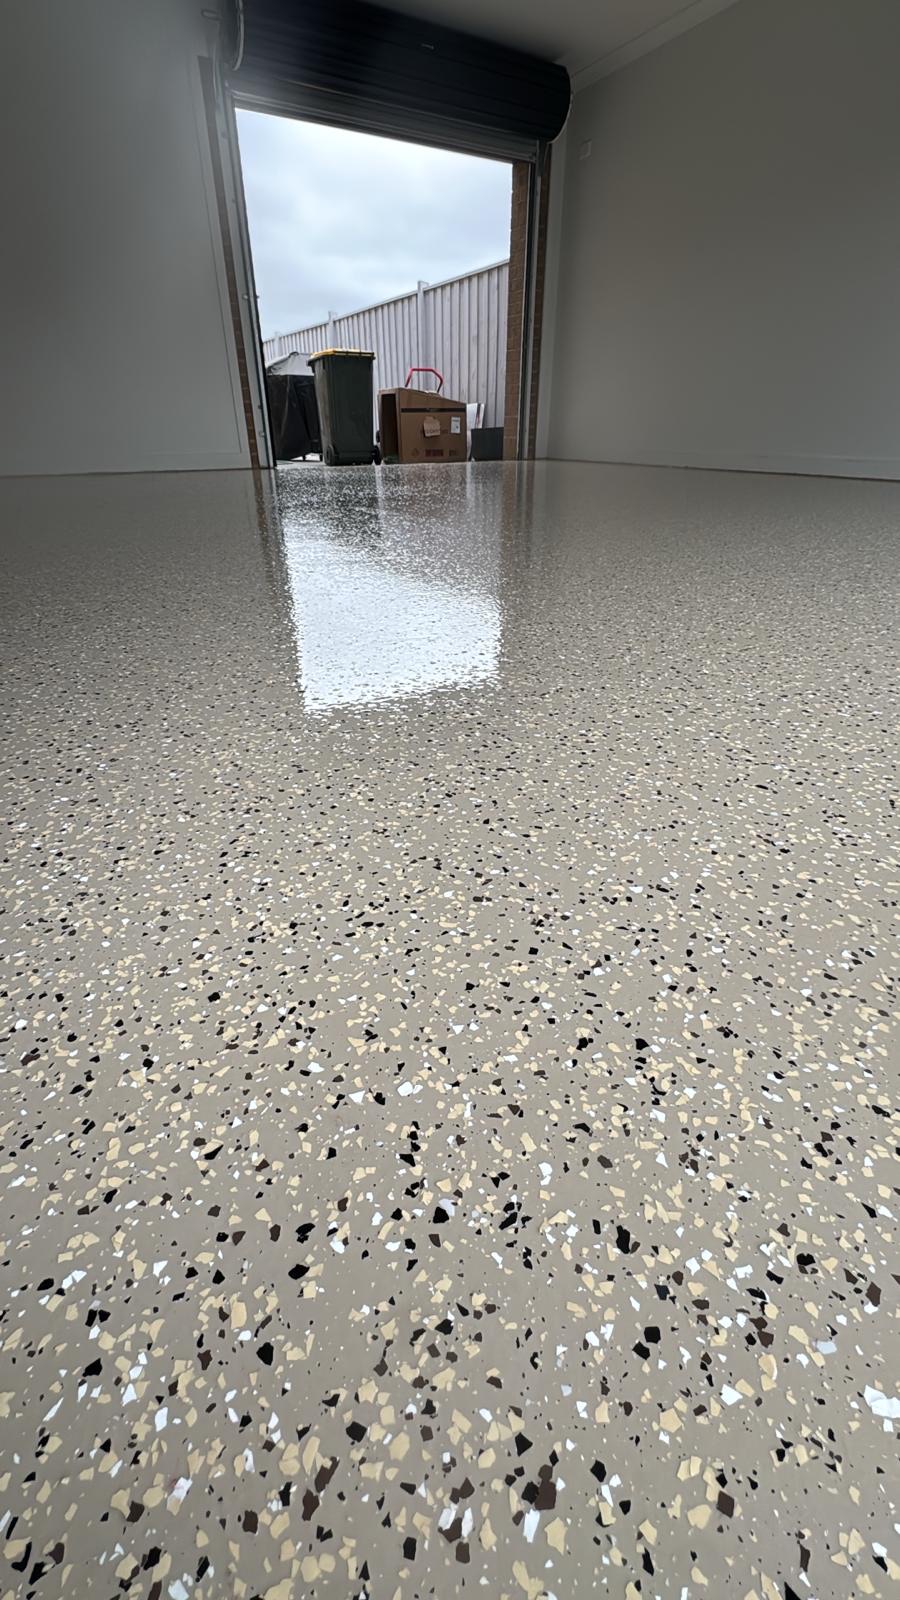
Simple care instructions to help protect your new Prime epoxy floor.
View guide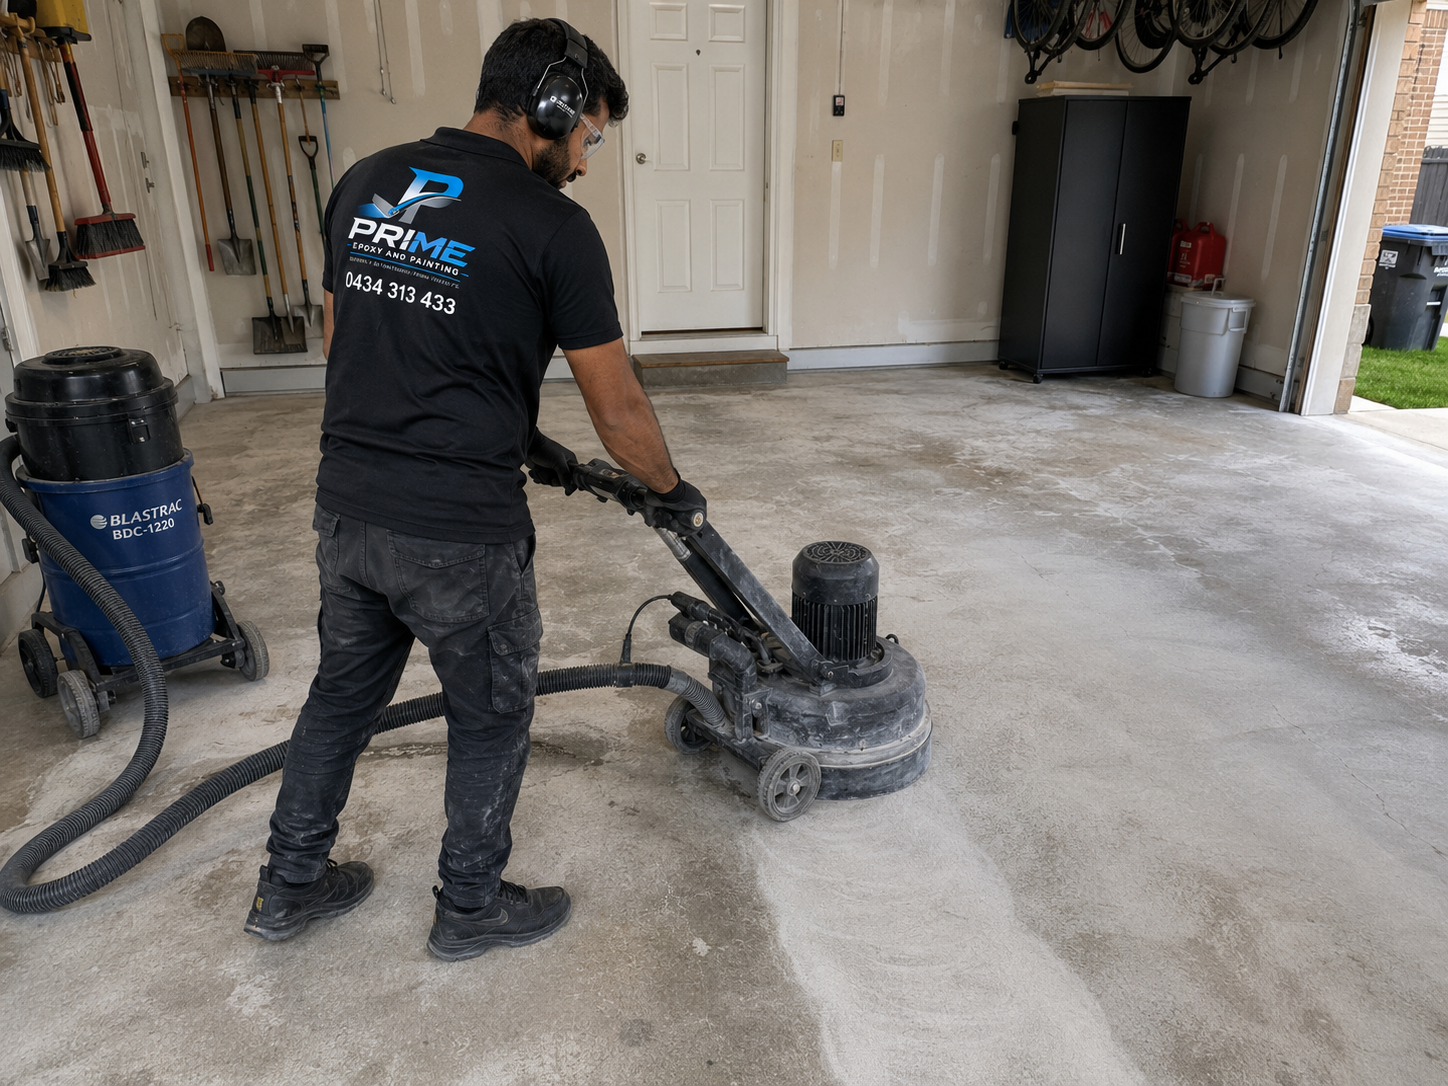
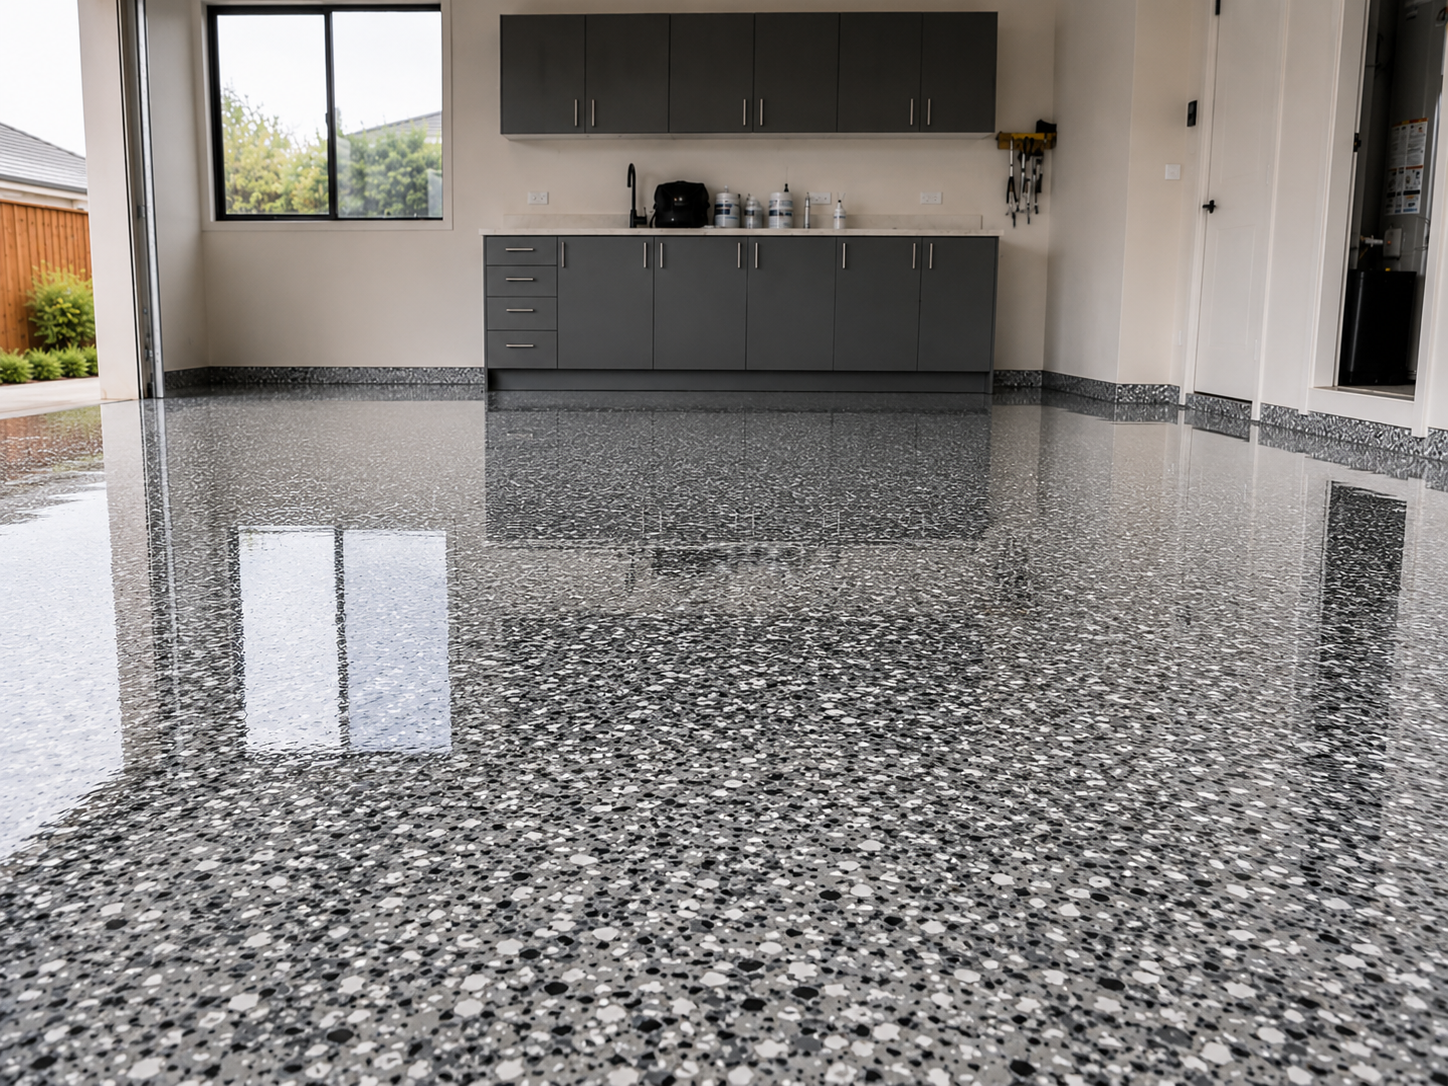
Larger spaces, extensive repairs, an existing coating, heavy contamination and cold or wet conditions can add time to the project.
If we find moisture rising through the slab or another issue that could affect the performance of the floor, we stop and speak with you before going any further.
If anything changes during the job, you’ll hear it directly from us.
Send us a photo of your floor and we'll tell you what we'd do with it.
Straight-talking guides on epoxy floors and finishes.
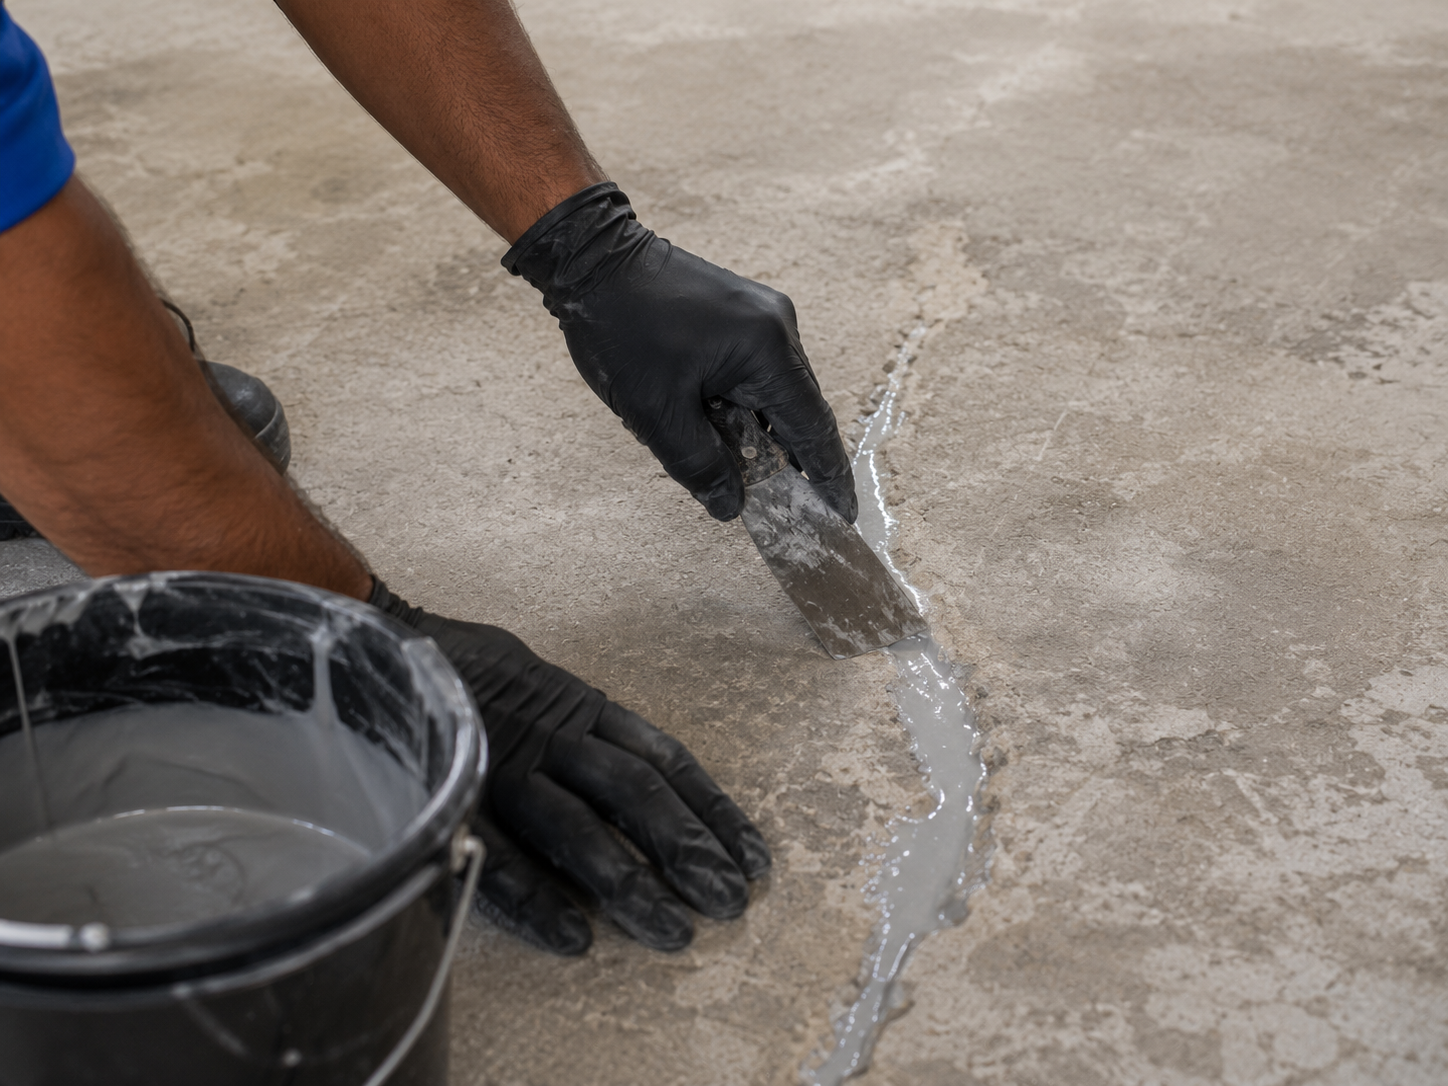
Usually yes — but only if the cracks are dealt with properly first. Here is how we assess damage and what makes a slab genuinely unsuitable.
Explore All Articles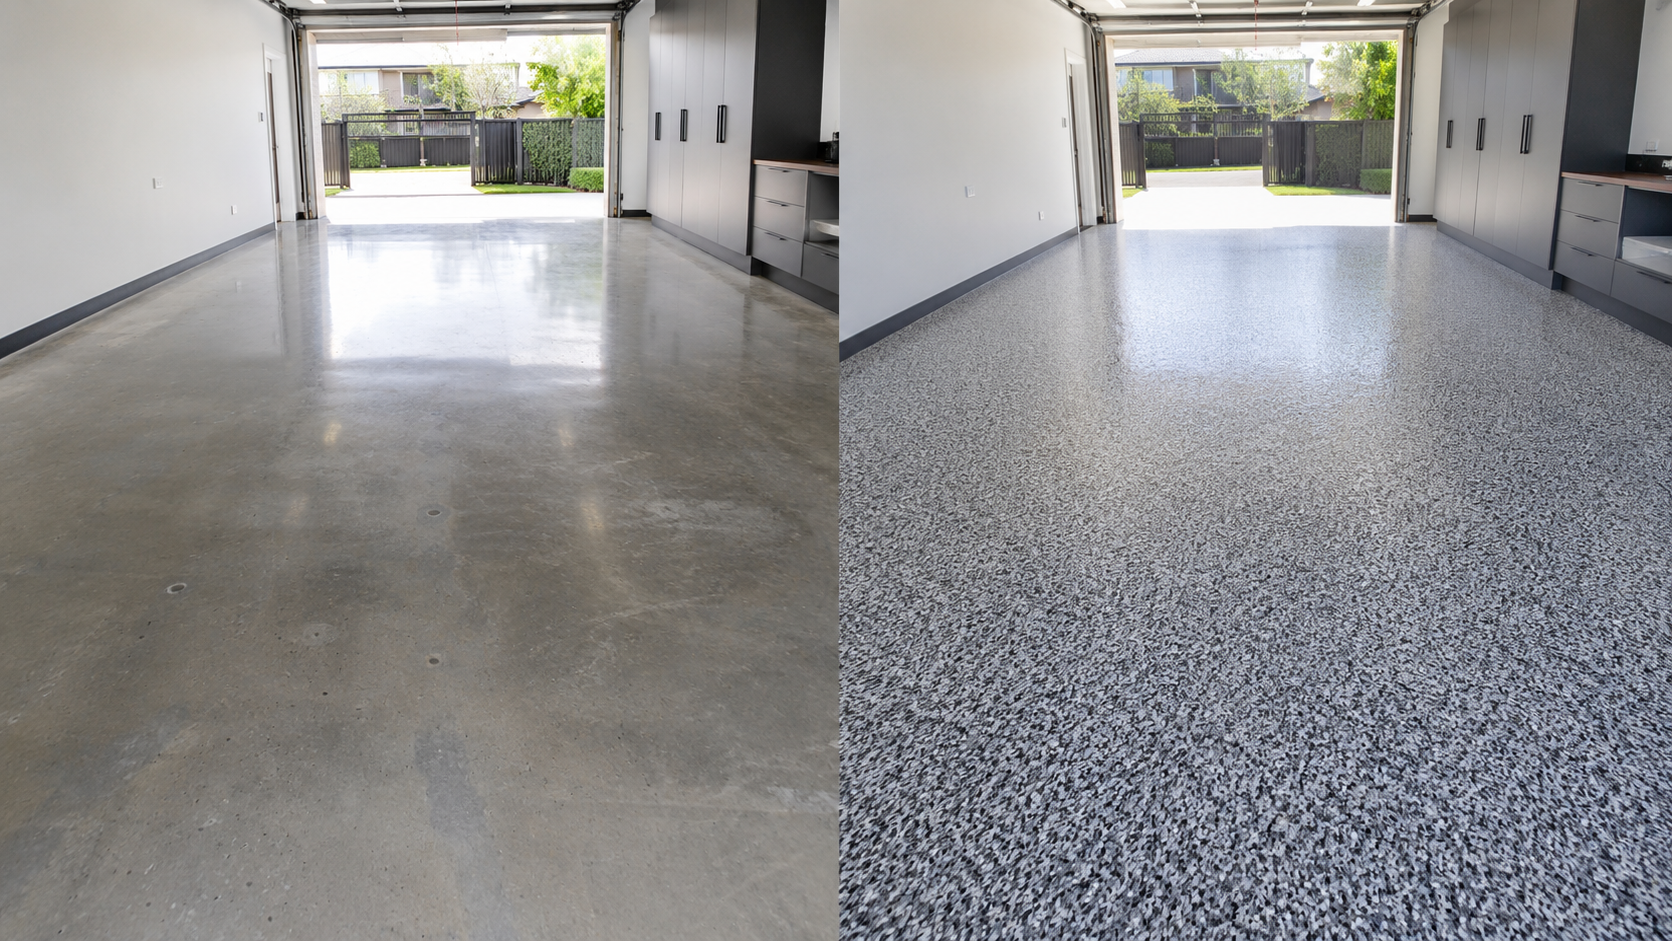
Two very different finishes that get compared constantly. Here is how they actually differ on cost, durability, appearance and what your existing slab allows.
Explore All Articles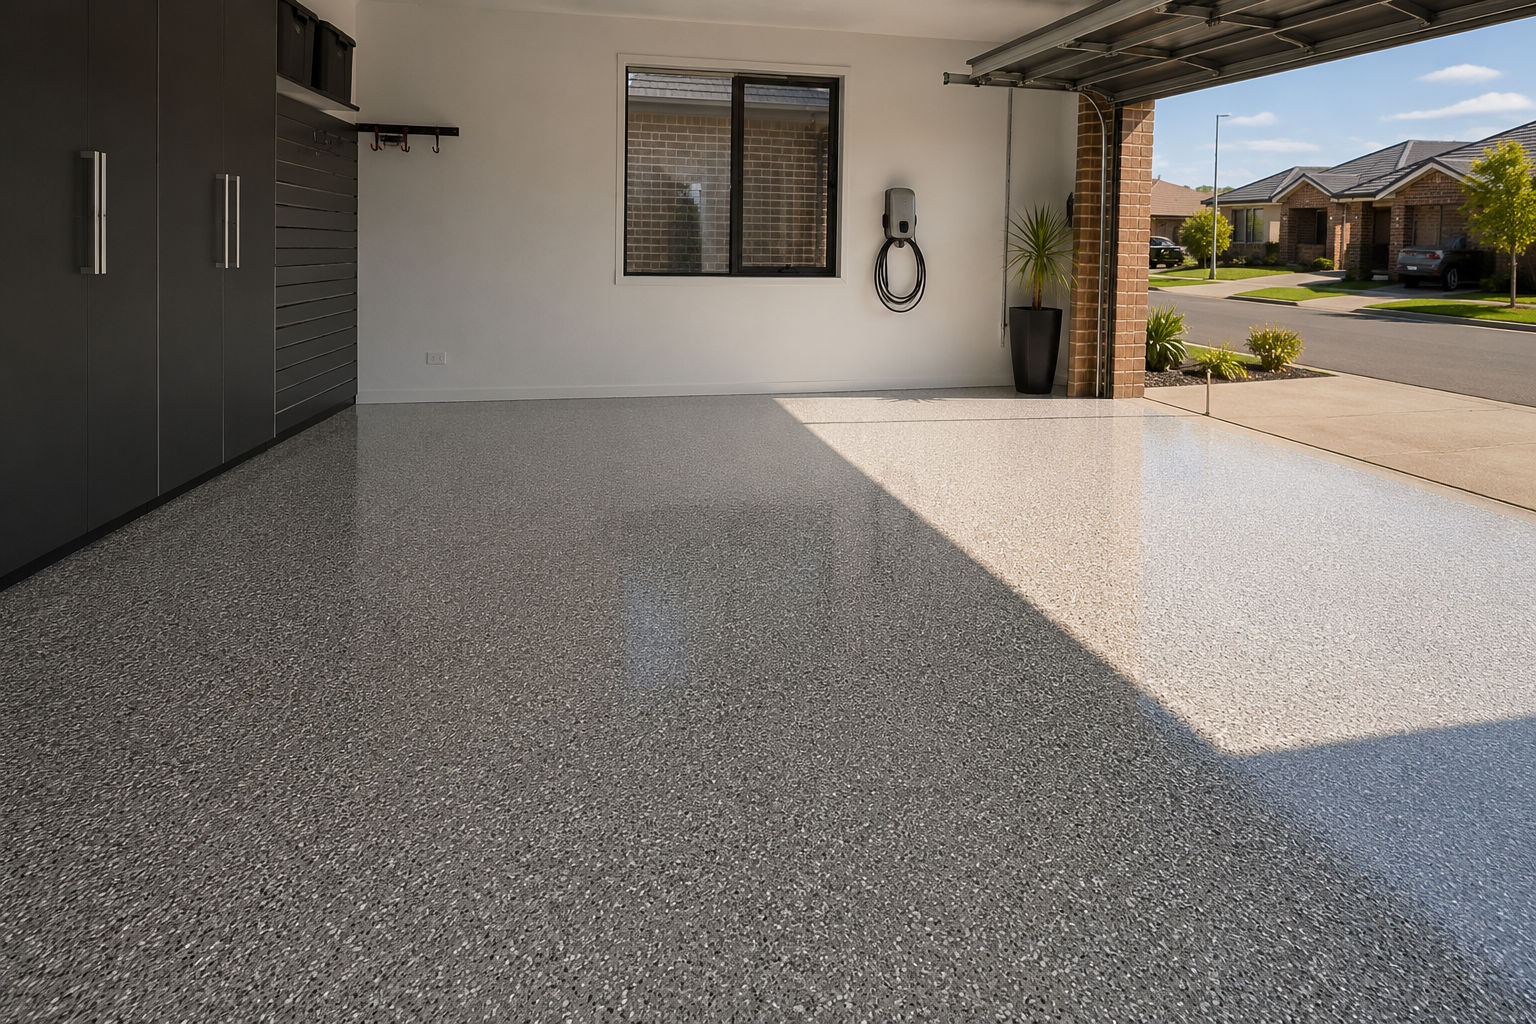
Melbourne's conditions put specific demands on a floor coating. Here is what actually causes problems locally and how the right specification avoids them.
Explore All Articles